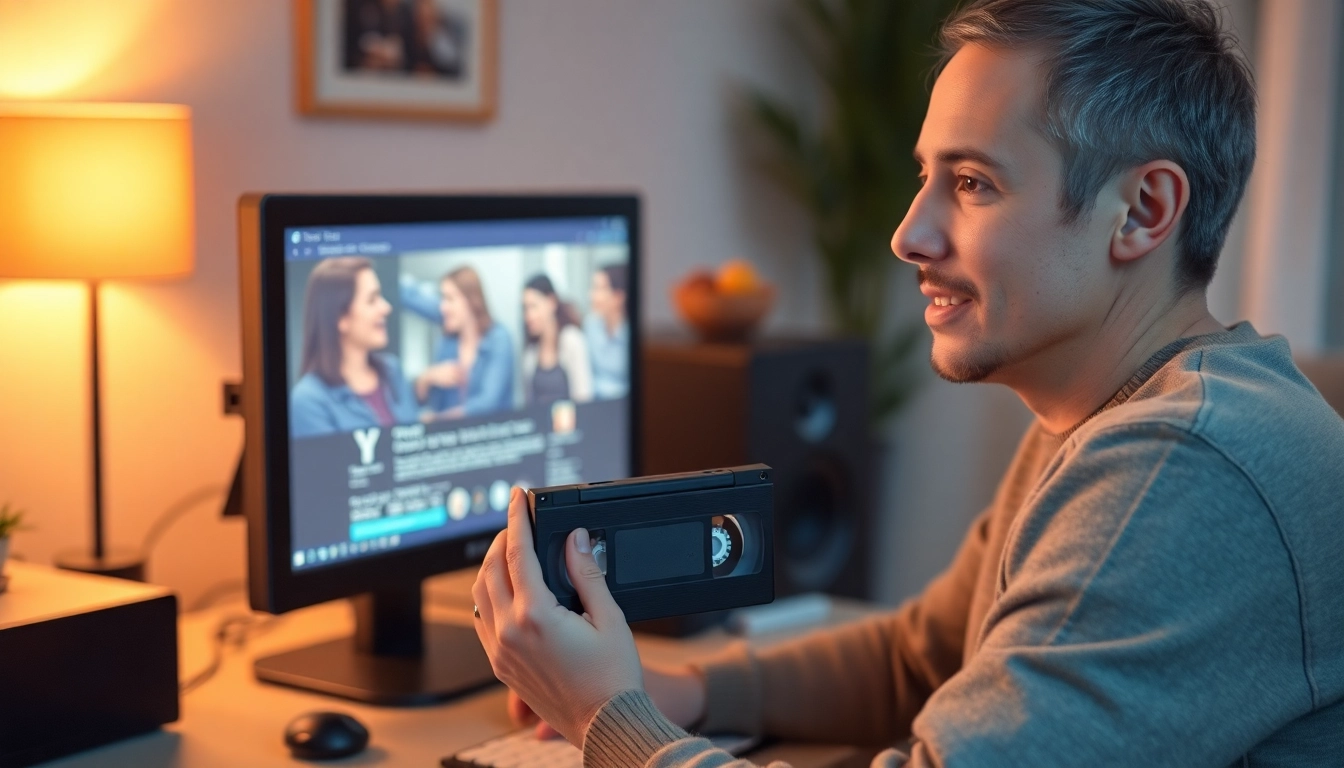
Understanding VHS to Digital Conversion
In today’s rapidly evolving technological landscape, preserving cherished memories has become more vital than ever. Many still hold on to old VHS tapes that contain unforgettable moments, from family gatherings to weddings and birthdays. However, as technology advances, these tapes are at risk of degradation, rendering them unwatchable over time. The solution? Converting VHS to digital format. This process not only safeguards your memories but also makes them easily accessible in a digital format. Learn more about VHS to Digital conversion and how you can undertake this vital task.
What is VHS to Digital?
The transition from VHS to digital refers to the process of converting video recordings that were originally stored on VHS tapes into digital files that can be played on modern devices. These digital formats include MP4, AVI, or MOV, which are compatible with most computers, smartphones, and streaming devices. As analog technology, VHS tapes have inherent limitations, including lower video quality and the risk of damage over time. Digital video, on the other hand, offers improved clarity, durability, and convenience, allowing users to view and share their favorite moments effortlessly.
Why Convert VHS Tapes to Digital?
Numerous reasons underscore the importance of converting VHS tapes to digital:
- Preservation: VHS tapes deteriorate over time due to magnetic strip degradation and environmental factors. Digital files, however, can be backed up and stored in multiple locations, ensuring their longevity.
- Convenience: Digital files are easier to manage, allowing you to enjoy your favorite videos on various devices without the need for bulky VCRs and tapes.
- Sharing and Accessibility: Digital formats facilitate easy sharing on social media, email, or cloud services, making it simple for family and friends to relive cherished moments.
- Enhanced Viewing Experience: Digital conversion offers the potential for improved video quality, allowing for better viewing experiences through today’s high-definition screens.
The Process of Digitizing VHS Videos
The process of converting VHS to digital typically involves three primary steps: preparation, conversion, and finalization. Each of these steps is crucial for ensuring the quality and integrity of your digital files.
Essential Equipment for Effective Conversion
VCRs and VHS Players Explained
At the heart of the conversion process is the VCR (Video Cassette Recorder) or VHS player—the device that plays back the tapes. While modern devices can play DVDs and stream movies, VCRs remain essential for this specific conversion task. Choosing a reliable VCR is crucial as older or faulty units may struggle to read the tapes effectively or may produce subpar video quality.
Choosing the Right VHS to Digital Converter
The appropriate VHS to digital converter is vital for successful digitization. These devices act as the bridge between your VCR and your computer or external storage. There are several options available:
- USB Video Capture Devices: These inexpensive products, such as the EasyCap, connect your VCR to your computer, enabling direct recording of the video signal.
- Standalone Video Capture Devices: A more robust solution, these devices directly transfer video to a digital format without requiring a computer, often saving recordings to an SD card or USB drive.
- Professional Services: If quality is paramount and you prefer not to handle the process yourself, consider using a professional service that specializes in video digitization.
Software Options for VHS Digitization
Once you have your VCR and converter ready, the next step involves selecting software for capturing and editing your video. Some popular options include:
- OBS Studio: A versatile and free option, this software allows you to capture video and audio from multiple sources.
- VHS Capture Software: Many converters come with bundled software designed specifically for VHS capture, often with simple user interfaces that make the process straightforward.
- Video Editing Software: After capturing your video, you may want to edit it, and software such as Adobe Premiere Pro and Final Cut Pro provides advanced editing features.
Step-by-Step Process of Converting VHS to Digital
Preparing Your Equipment
The first step in the conversion process is setting up your equipment:
- Connect the VCR: Utilize RCA cables to connect the VCR’s output to the input of your VHS to digital converter.
- Install Software: If you are using a USB converter, ensure to install any necessary software that came with the device on your computer.
- Prepare Your Workspace: Choose a clean, organized area to work in, and ensure you have ample space for your equipment.
Recording Your VHS Tapes
With your equipment set up, it’s time to start recording:
- Insert the Tape: Place your VHS tape into the VCR and rewind it to the beginning.
- Open the Capture Software: Launch the software on your computer that will capture the video.
- Start the Playback: Initiate playback on your VCR while simultaneously starting the recording feature in your software.
- Monitor the Process: Keep an eye on the recording process to ensure the video and audio are being captured correctly. You may also want to record in real-time to preserve the natural pacing of the original content.
- Stop the Recording: Once the tape has finished playing, stop the recording and save the file in a preferred digital format.
Saving and Organizing Digital Files
After the video is captured, organization is key:
- File Management: Create a dedicated folder on your computer for your digitized videos, labeling each file clearly with descriptions and dates.
- Backup: Regularly backup your digital files on external hard drives or cloud storage systems to prevent accidental loss.
- Edit and Enhance: If needed, use video editing software to trim, enhance, or add titles to your videos before you finalize and save them.
Common Challenges and Troubleshooting
Quality Issues During Conversion
While converting your VHS tapes to digital, you may encounter the following quality issues:
- Fuzzy Images: Ensure your VCR is in good working condition and test the tapes before recording. Cleaning the VCR heads with a safe cleaning tape can sometimes resolve this issue.
- Audio Sync Problems: If the audio does not sync with the video, check the software settings and ensure you are using a reliable capture device.
- Color Distortion: Test different cables or inputs if you notice color issues during playback. Updating the video settings in your capturing software may also help.
Handling Damaged VHS Tapes
Many old VHS tapes suffer from physical damage, such as bending or tearing of the tape. To address this:
- Visual Inspection: Examine the tape for visible signs of wear or damage.
- Repair Kits: Consider using tape repair kits designed for VHS cassettes to fix minor issues before digitizing.
- Professional Services: If the tape is heavily damaged, it might be best to consult with a professional video service that specializes in restoring old tapes.
Frequently Asked Questions
As with any process, questions will arise. Here are some commonly asked questions regarding VHS to digital conversion:
- How long does the conversion process take? The time depends on the length of the VHS tape and the conversion method used. On average, allow one hour for each hour of video.
- Can I convert VHS tapes to DVD? Yes, many VHS to digital converters also allow for recording directly onto DVD.
- Is it better to do it myself or hire a professional? The choice depends on your comfort level with technology and the quality you desire. DIY can be cost-effective, while professionals may offer superior quality.
Finalizing Your Digital Library
Best Practices for Storing Digital Files
Once your videos are digitized, implementing best practices for storage is essential:
- Organize Files: Keep your digital files organized in folders by date or event for easy access.
- Use Multiple Backups: Store copies of your files both physically (on hard drives) and digitally (in the cloud).
- Regularly Update Backups: Schedule regular updates to your backup systems to ensure security against data loss.
Sharing Your Digitized Memories
Once your files are stored, consider sharing them with family and friends:
- Social Media: Post snippets or significant moments on platforms like Facebook or Instagram to connect with loved ones.
- Family Gatherings: Organize viewing parties or virtual gatherings to watch your newly digitized memories together.
- Private Cloud Links: Use cloud storage services to create shared links for easy access to your files.
Exploring Cloud Storage Options
Choosing the right cloud storage can make a significant difference in accessibility and security:
- Popular Options: Services like Google Drive, Dropbox, and Amazon Cloud offer various storage solutions with shareable links.
- Security Features: Consider platforms that provide encryption and extra security features to safeguard your precious memories.
- Storage Plans: Evaluate which plan suits your needs, focusing on space, price, and features available.